
Channel in a printed part (failure)
Introduction
One of the prominent advantages of SLM and EBM is the possibility of manufacturing parts with high precision. Numerical simulation can be used to calibrate the machine to find the best setting for printing of the smallest details.
In this example, we print a dense sample, but turn off the laser in the small region in the center. The purpose of the simulation is to see if formation of such a small cavity is possible with the specified laser setting and powder composition.
Input
The printing is performed by hatching multiple layers.
The hatching strategy for the dense sample is imported from the g-code files (you can download them here) with the G-code converter script.
The cavity is formed by turning the laser off when the laser spot is in the specified parameter range. This ability is not supported by the user interface. At present, the users are advised to prepare g-code files which include the cavity.
Here is the configuration for the simulation:
{
  "Material": "SS316L",
  "NumericalParams": {
     "dr" : 4e-6,
     "dt" : 40e-9
  },
  "ScanStrategy": {
    "Beam": {
      "Power": 250.0,
      "Speed": 1.200,
      "Width": 80e-6,
      "type": "Laser"
    },
    "Type": "Manual"
  },
  "config": {
    "MemoryAllocation"     : "managed",
    "AutoTermination": true,
    "DumpARR": false,
    "DumpVTK": true,
    "IterationSubstepsRate": 1000,
    "DumpDataRate": 10000,
    "MaxTimesteps": 22000000,
    "calcBubbles"          : true,
    "AllowToRunoutXYbox"   : true
  },
  "sizes": {
    "FullXapprox": 0.003,
    "FullYapprox": 0.003,
    "FullZapprox": 0.004,
    "substrate": 0.003
  },

  "Visual": {
  "distanceBetweenXsecs": 80e-6,
  "3DrenderedDomainSize": [2.2e-3, 2.2e-3, 0.6e-3],
  "BeamToBoxMinDistanceX": 200e-6,
  "BeamToBoxMinDistanceY": 200e-6
  },
  "Powder": {
    "initSpheresVDBfile": "",
    "components"             : null
  },
  "Substrate": {
    "preheating"  : 300.0,
    "wettingAngle": 0,
    "components"             : null
  },

"PowderBedGenerator": {
  "Type": "PowDEM",
  "RandomSeed":0,
  "GroundSurface": "",
  "PSDsizes": [
    [0,10.756e-6],
    [0.030,12.084e-6],
    [0.090,13.577e-6],
    [0.414,15.254e-6],
    [1.058,17.138e-6],
    [2.555,19.255e-6],
    [5.302,21.633e-6],
    [9.769,24.305e-6],
    [16.721,27.307e-6],
    [25.676,30.680e-6],
    [36.794,34.469e-6],
    [48.913,38.727e-6],
    [61.238,43.510e-6],
    [72.825,48.885e-6],
    [82.492,54.923e-6],
    [90.162,61.707e-6],
    [95.099,69.328e-6],
    [98.062,77.892e-6],
    [99.316,87.513e-6],
    [99.596,98.322e-6],
    [99.703,110.467e-6],
    [99.722,139.441e-6],
    [99.740,156.665e-6],
    [99.783,176.016e-6],
    [99.840,197.757e-6],
    [99.915,222.183e-6],
    [99.980,249.627e-6],
    [99.999,280.460e-6],
    [100,315.102e-6]
  ],
  "PSDtype": "Volume",
  "SurfaceVerletSizeCalc": "Ball",
  "KnifeZposition": 0.003050
},
"G-code-converter": {
  "idleSpeed": 7000,
  "workSpeed": 1200,
  "offset": [3,3]
}
}
Results
The simulation is performed with KiSSAM (“commit_info” => “cba4f87 Thu Feb 22 15:49:21 2024 +0300”).
In the result, after rendering the VDB files, we observe that the cavity is not formed. Refer to the images (rendered with blender)
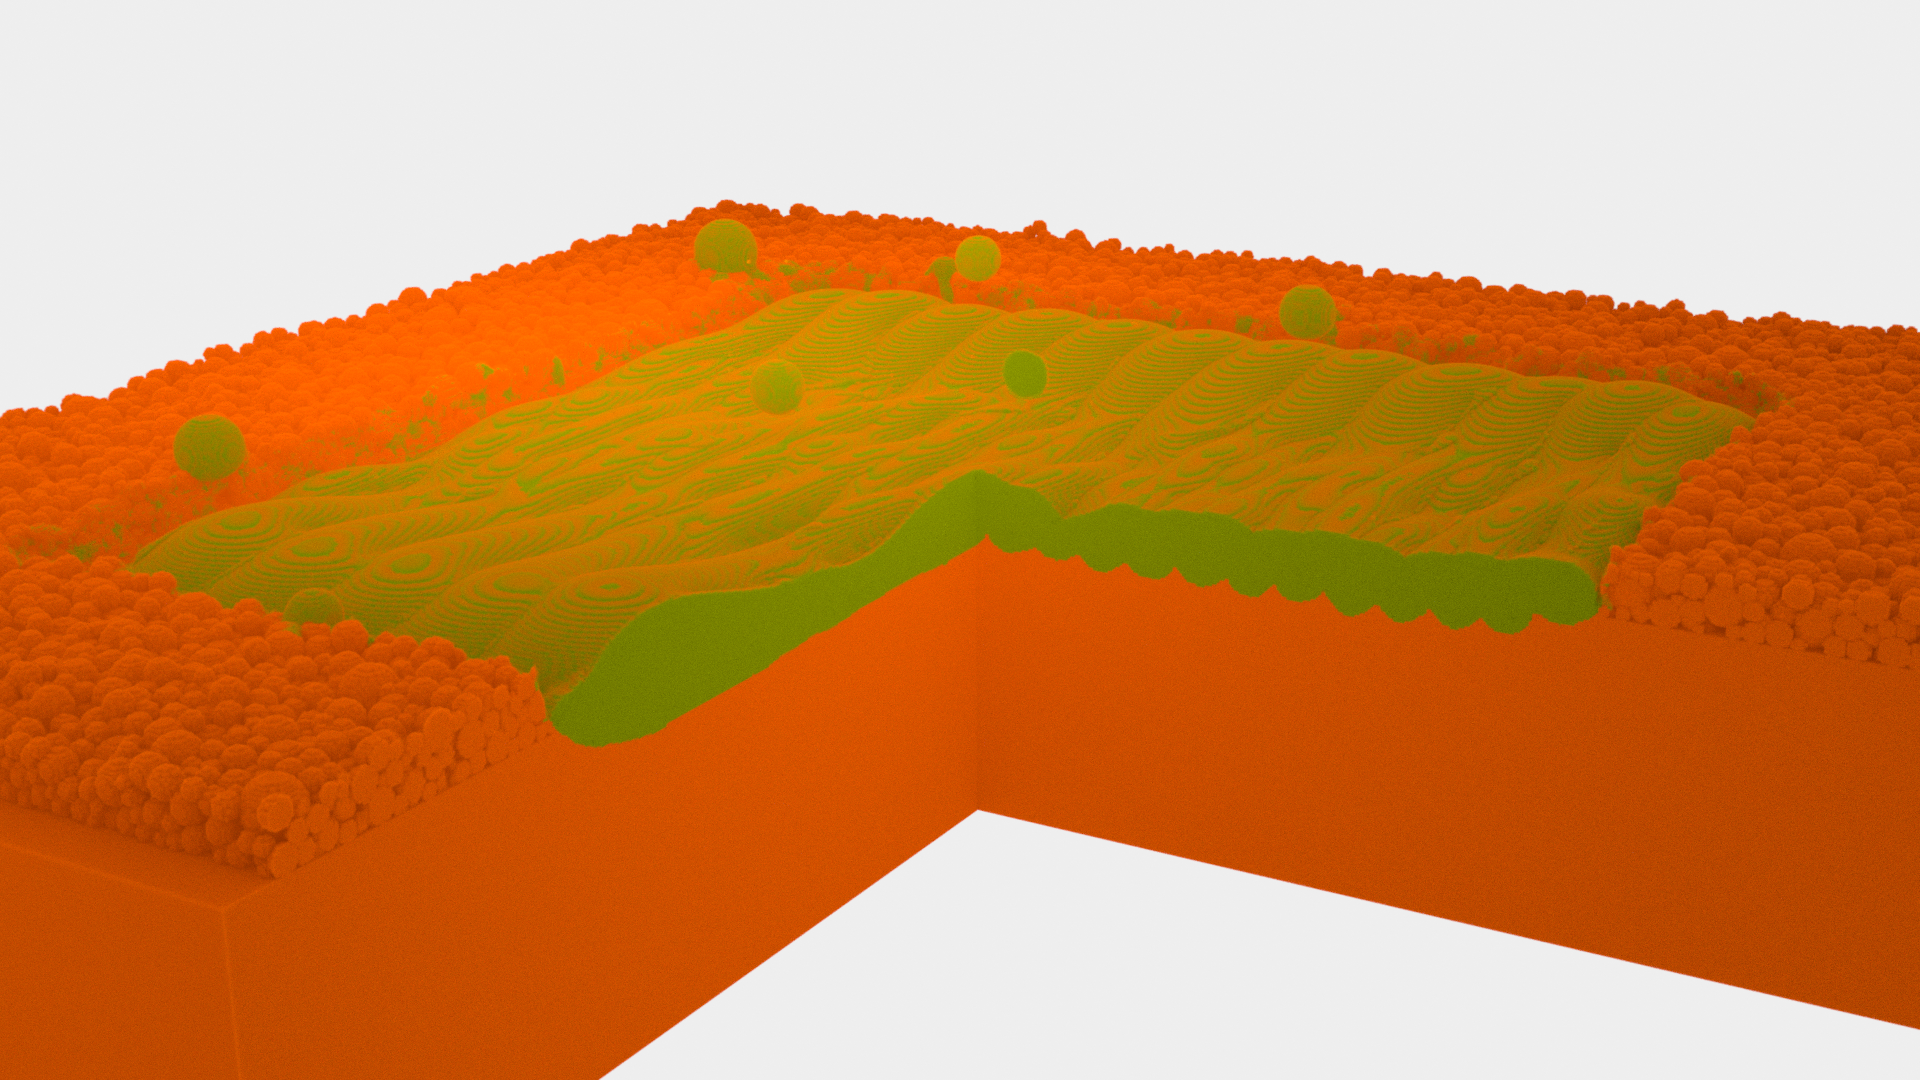
Fig. 63 Layer 1. A square layer is hatched.
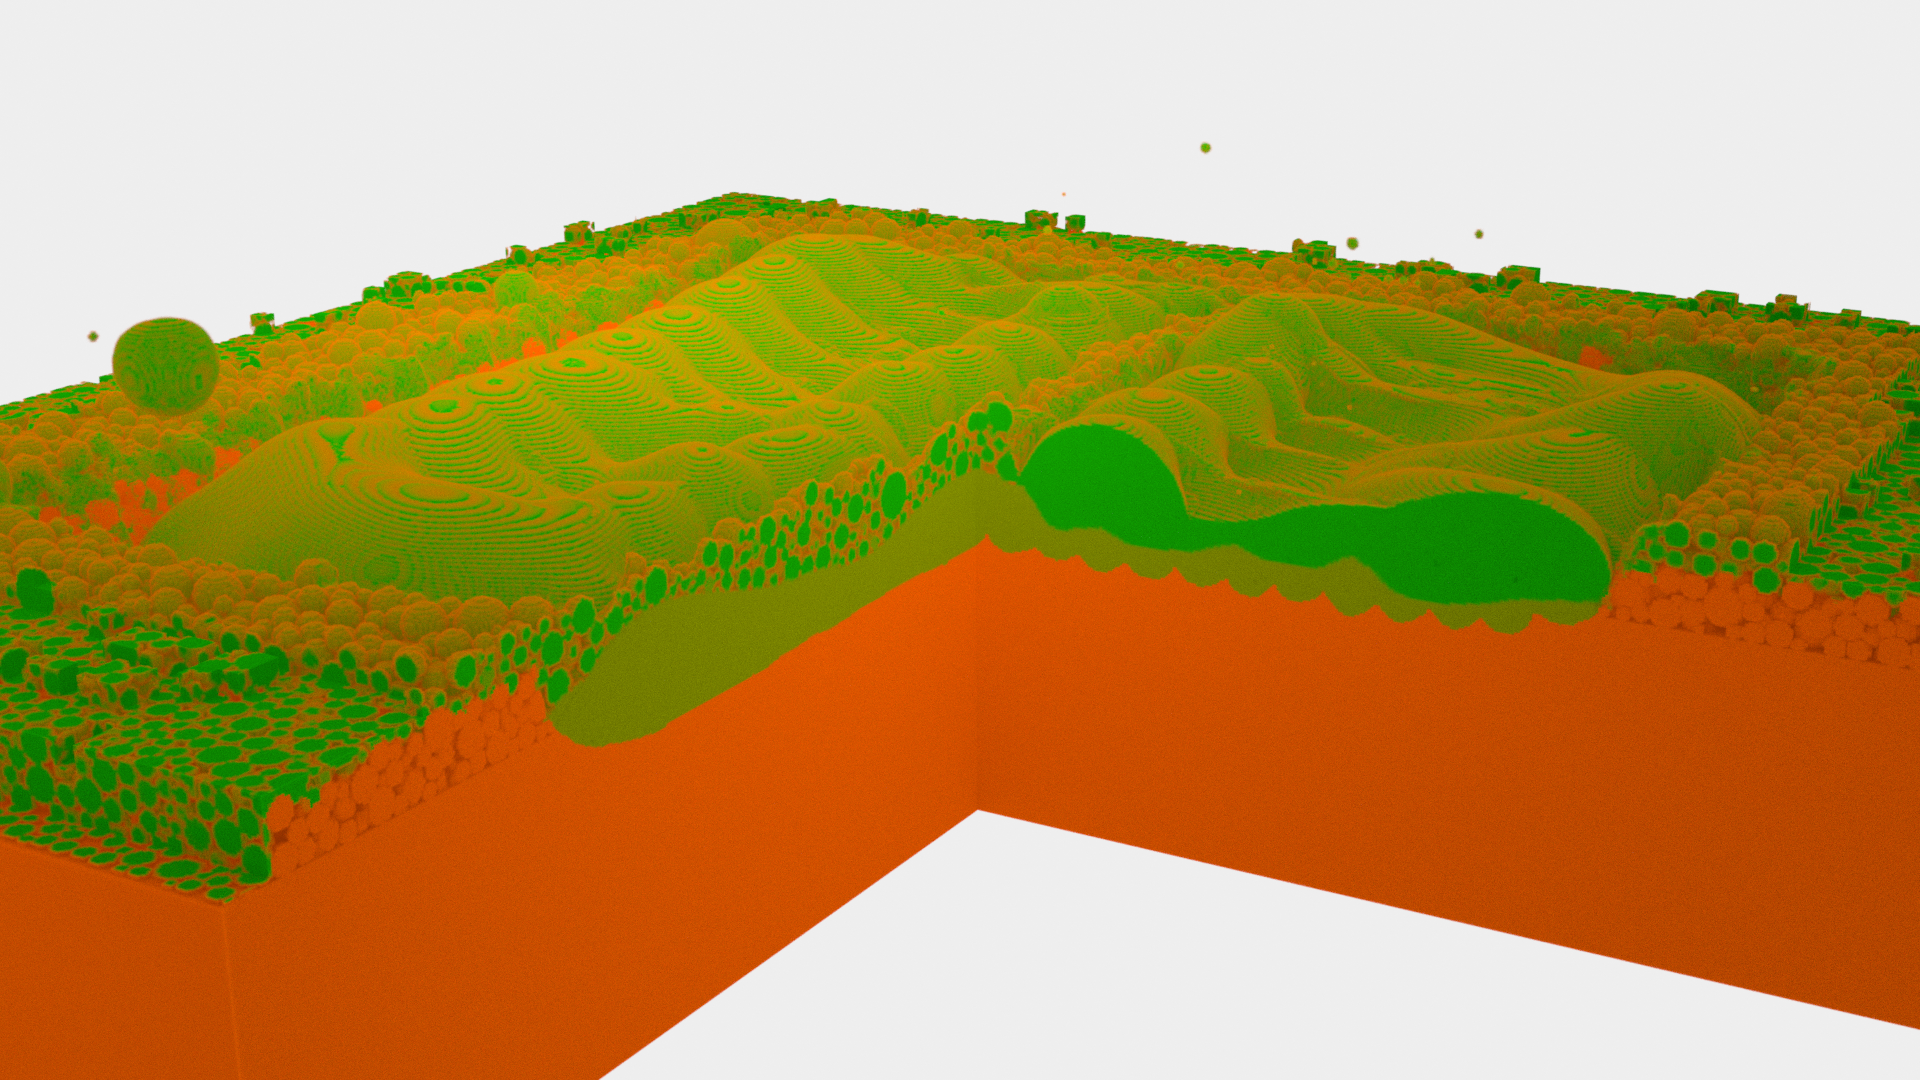
Fig. 64 Layer 2. At each layer, the free geometry (drops) are removed, a new layer of powder is deposited, and melted. Here, there is an opening where the laser is turned off in the center of the layer.
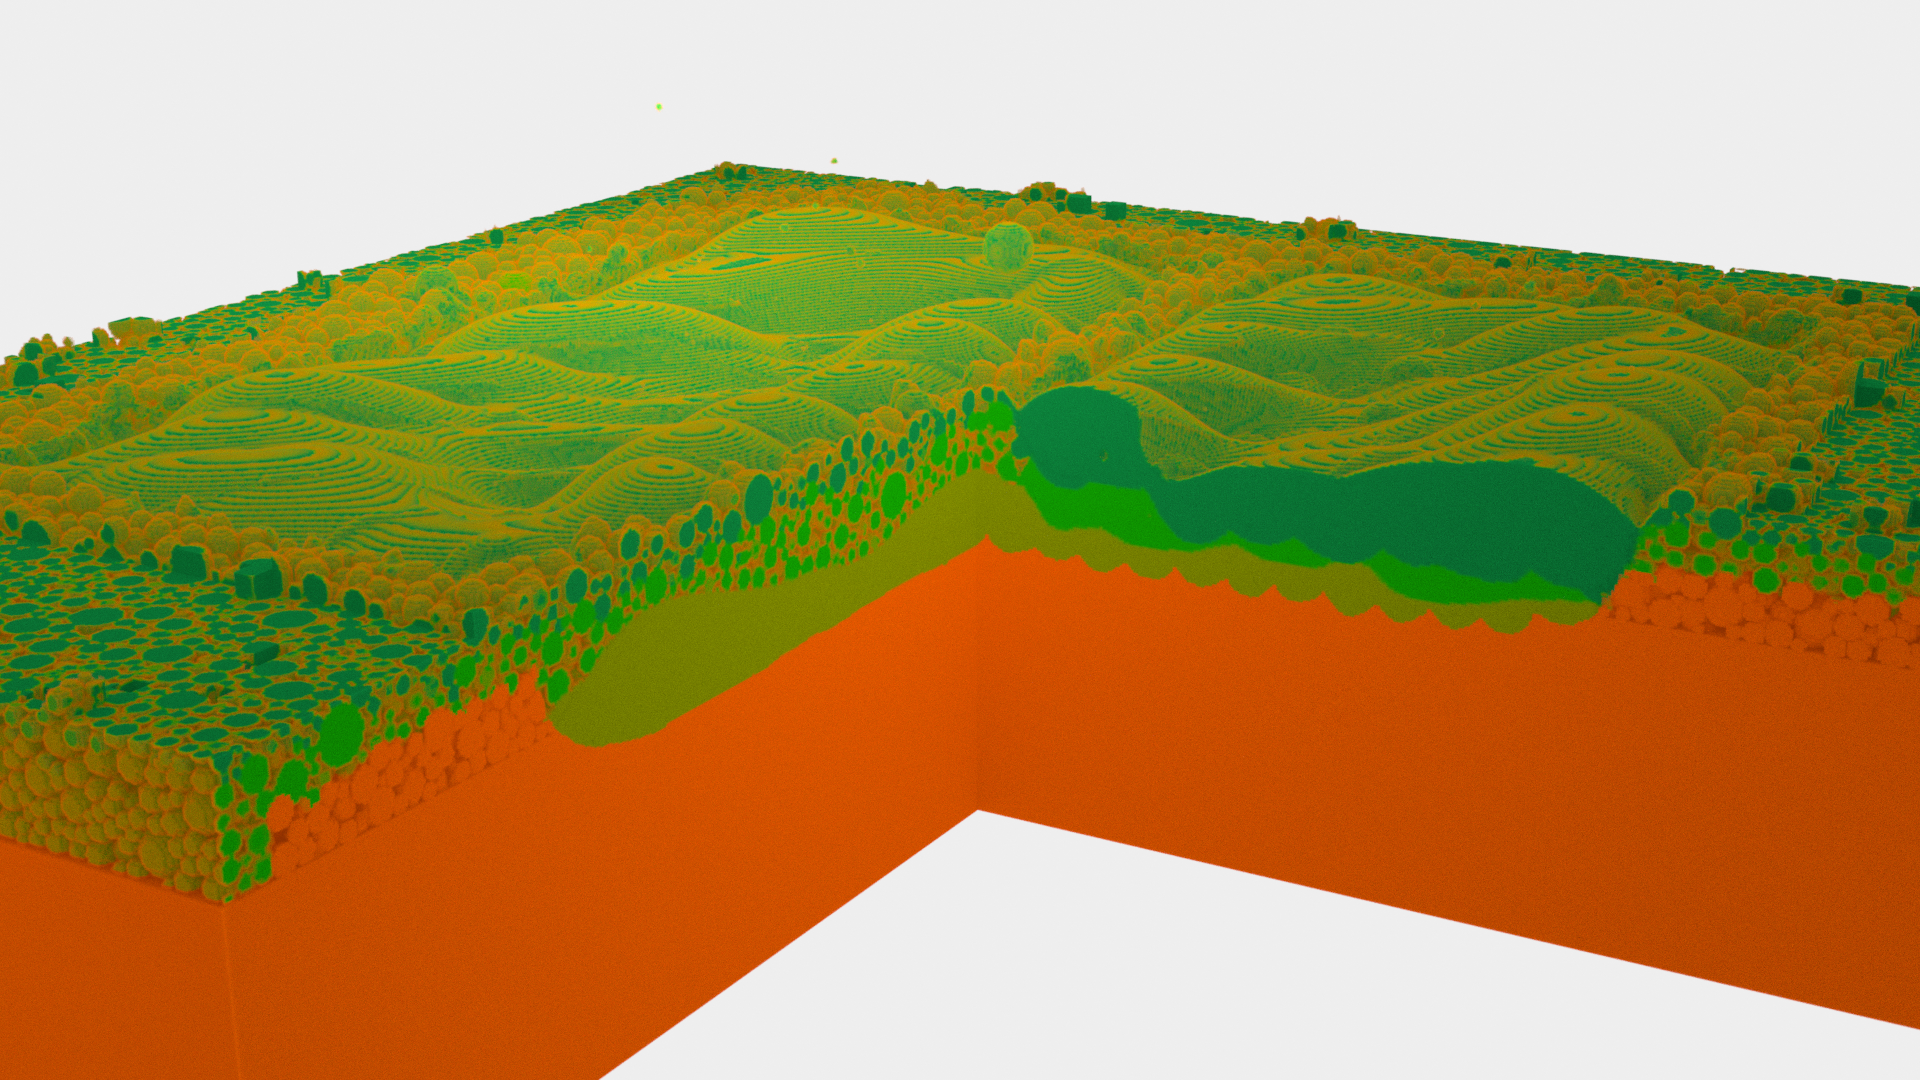
Fig. 65 Layer 3.
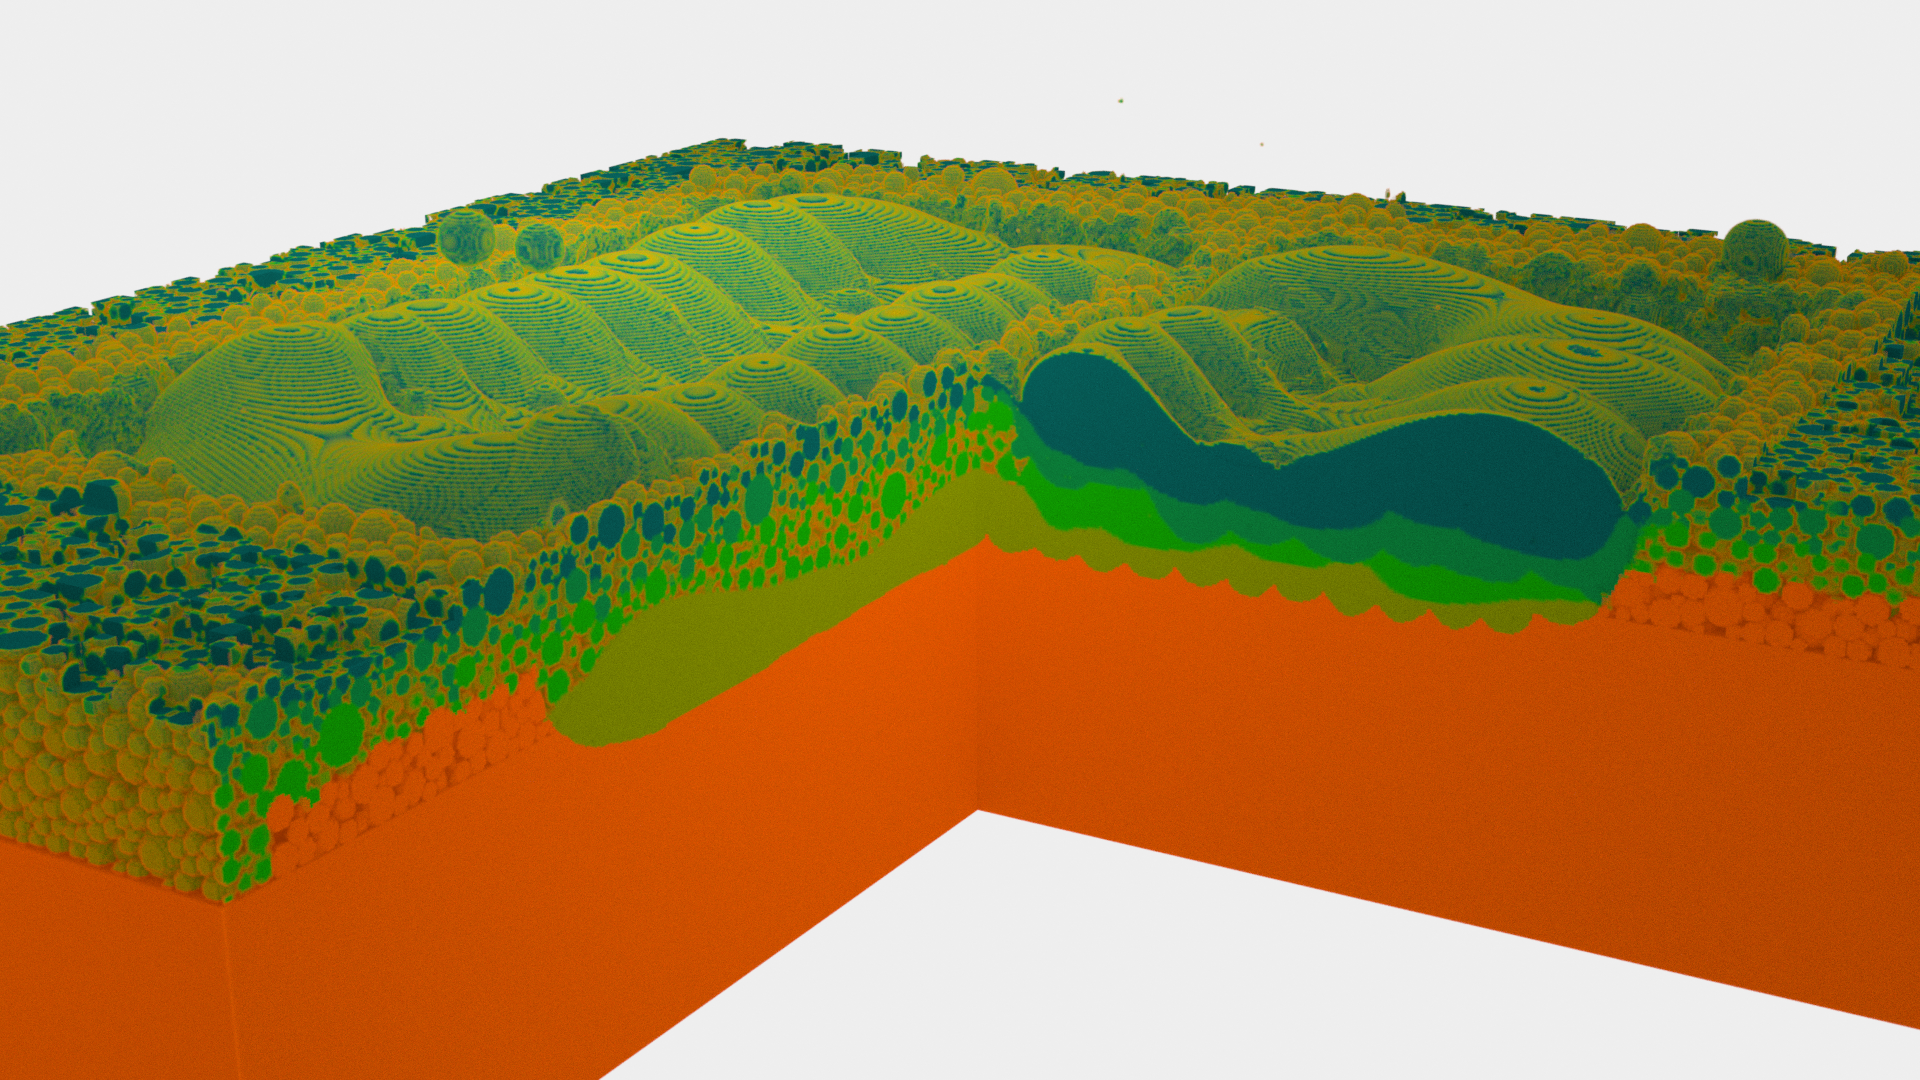
Fig. 66 Layer 4. Up until now, the center of the sample contains free powder.
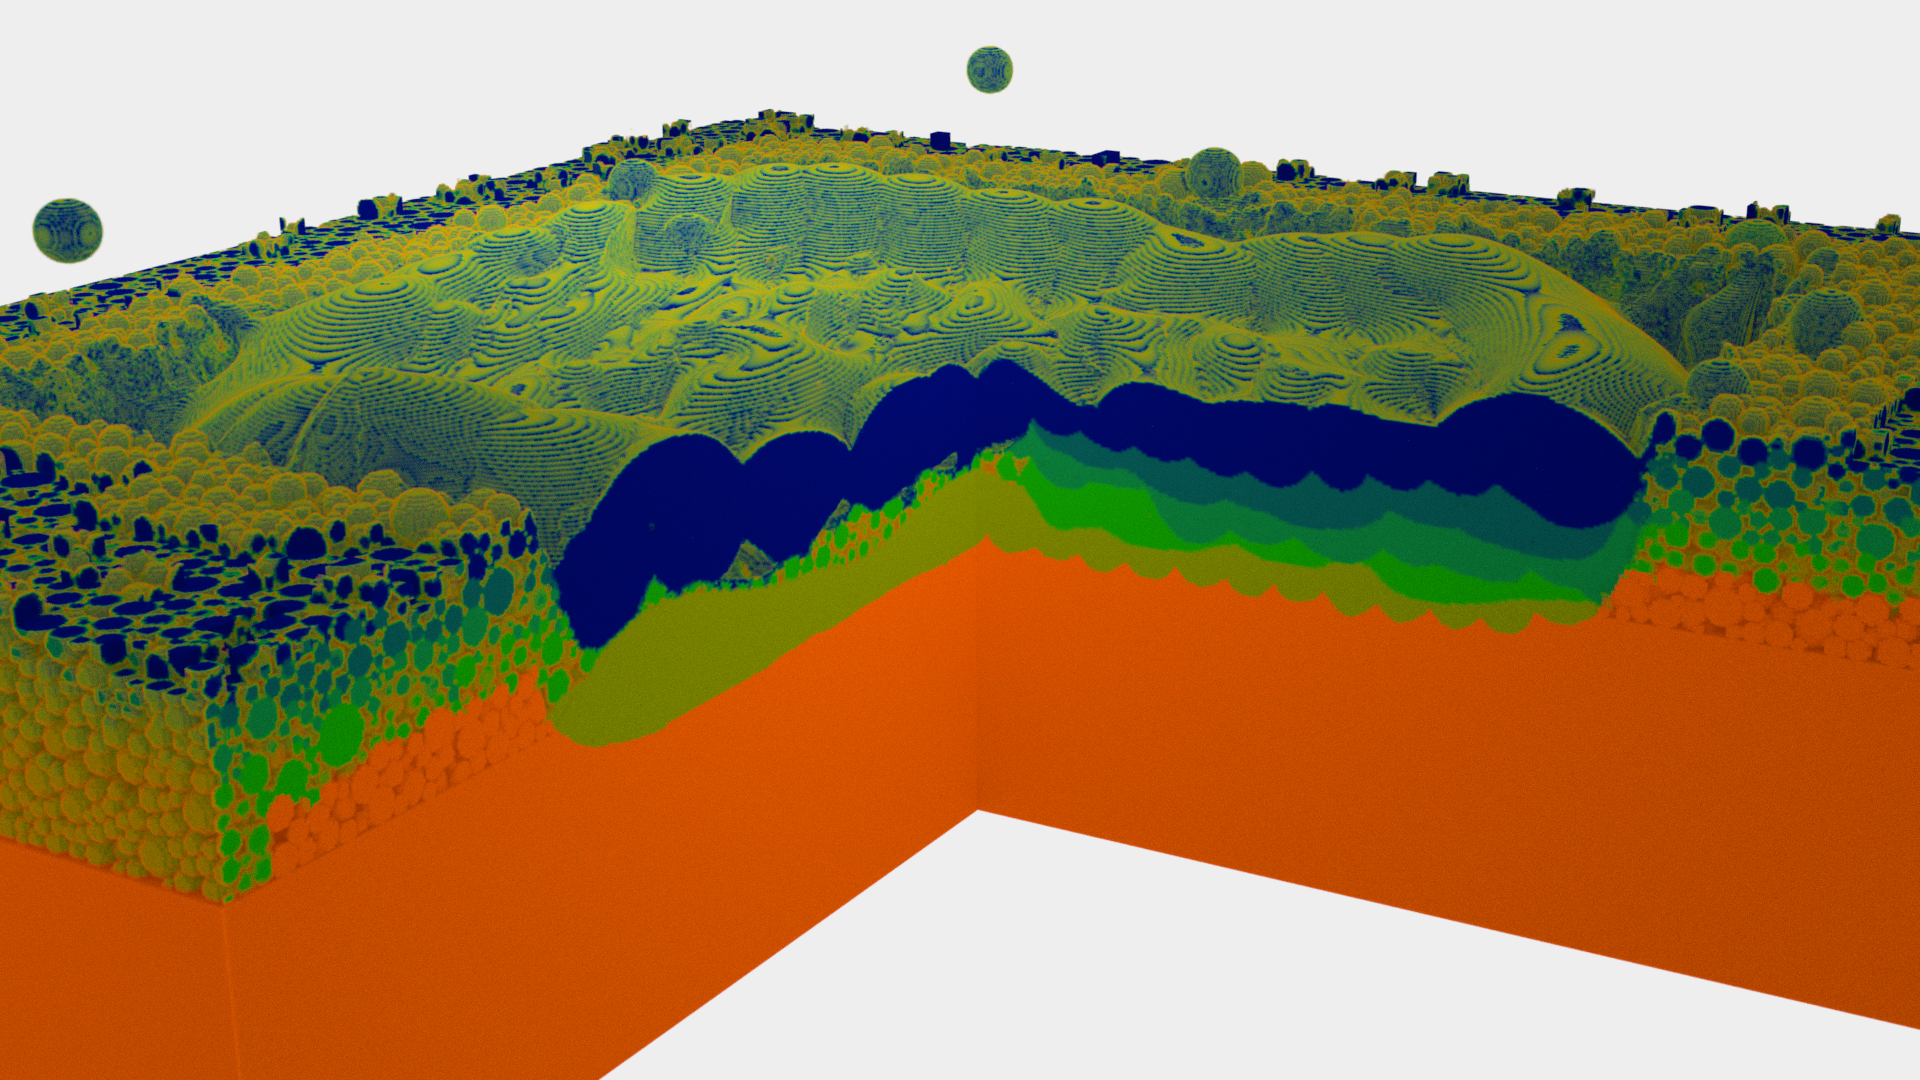
Fig. 67 Layer 5. Unfortunately, the opening is meleted through. The hole in the sample is not formed. Some unmelted powder remained inside the layer.
An example where a channel is successfully formed is reported here.
Timing
The simulation is performed on nVidia GeForce RTX 3090. The approximate simulation times are listed below.
No |
Powder deposition |
Melting |
|---|---|---|
Layer 1 |
18 hours |
|
Layer 2 |
7 hours |
a day |
Layer 3 |
8 hours |
2 days |
Layer 4 |
2 hours |
2 days |
Layer 5 |
6 hours |
2 days |